Orchid repoting step by step
When your orchid does not fit in a pot, it is time to repot it. It is not difficult but you need to be gentle because you do not want to damage roots. Repotting orchids is easy. The best time to repot is in the spring, providing that your plant “acts” stubbornly and refuses to bloom. If the plant is too “packed” in its pot chances are that it will not bloom and you should try repoting first.
When should you repot?
When the pot is too small or when:
- Soil has crumbled into little pieces. If pieces of soil are too small they cover roots too much and limit access to air. This can hold back flowering but it may even kill roots. Repot orchids at least once every two to three years and always into a new substrate (you repot into a larger pot with new soil of course).
- you notice a white coating on top of the soil it may be fungus or mould you need to repot.
- your orchid does not flower, it may be due to rotten roots. Repotting may help.
- You have noticed pests in soil.

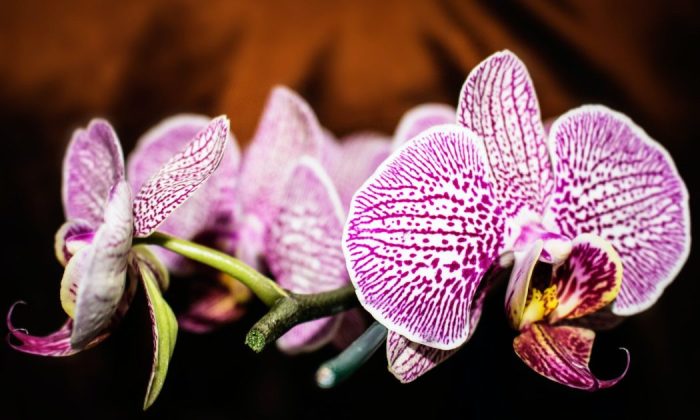
Photo: Pexels
Repoting during flowering
In some cases you may notice a white coating or pests around the root area during flowering. Do not repot the plant with flowers, as it will suffer a shock. The flowers could also fall off and damage the plant. If you want to repot, cut off the flowers first. This will force the plant to direct all energy to the roots and adapt to new conditions.
Transplanting
The most important rule when repotting is to be gentle. Touch the roots as little as possible to avoid damage. Here is a step-by-step repotting process:
- Remove the plant from the pot. Remove any old soil. You should have only clean plant with clean roots.
- Check the root condition. Remove any rotten or damaged parts – use a sharp, clean tool.
- Move the plant into a new container and place it exactly in the centre of the pot. Roots are usually long and messy so, it may be rather difficult. Arrange them very carefully. You need to hold the plant with one hand.
- Cover roots with a substrate. After you have placed the first layer in the pot, gently tap the pot on the base to help the soil settle. Add another layer and tap the bottom again. Keep adding layers until the pot is full. Do not overfill the pot. If you create an empty space, orchid will use the empty space to grow new roots.
Source: https://fajnyogrod.pl/porady/przesadzanie-storczykow-krok-po-kroku-poradnik-praktyczny/
Preview photo: Pexels


Gardening is my hobby, I have a lot of experience and I am happy to share it.


0 comments